Myco-forms
Protocols for Mycelial Conversion of Waste into Bio-Material
(myco-forms)
As adapted by Oliver Kellhammer ( kellhamo@newschool.edu )
Miniature ‘Tower of Babel’ grown from mycelia and wood shop waste
Recently there have been well-publicized advances in the manufacturing of sustainable bio-materials using fungal mycelia to convert carbonaceous waste materials.
In 2014, Phil Ross’s ‘Mycotecture’ exhibition at Parsons (see YouTube link to his talk) and the unveiling of the myco-brick constructed Hy-Fi tower in the courtyard of MoMA PS1
garnered considerable interest as did the founding of the myco-materials company Ecovative by RPI graduates in Troy, NY.
Mycelial bio-materials have the potential to replace many non-sustainable fossil fuel or primary forest derived substances such as plastics, wood composites and cardboard and are they are becoming an increasing part of the global supply chain as the necessary transition toward sustainable, ecologically friendly industrial production continues. The ability of some fungi to break down toxic hydrocarbons and to bioaccumulate others such as heavy metals and radioactive isotopes offers considerable potential for wider applications in environmental decontamination and bioremediation. In this lab students will use common, non-toxic fungi to recycle wood shop waste that would otherwise be headed to the landfill, creating mycelial castings (myco-forms) with a wide range of potential applications such as packaging, architectural materials and fine art.
Wood Shop Waste:
Closing waste streams is a key part of any sustainable design practice. Looking around Parsons for landfill-bound waste that might be redirected into myco-materials, I turned my attention to the contents of the vacuum cleaner bags in the Maker Space woodshop. This is predominantly made up of sawdust from a wide variety of wood species as well as plywood, composites, MDF etc. with significant residues of resins and glues as well as other assorted detritus such as human hair, candy wrappers, nails and screws. After consulting with the mycologist Tradd Cotter of Mushroom Mountain who is a specialist in myco-remediation, I decided to test this substrate on the wood-eating fungi: Ganoderma lucidum , Ganoderma tsugae and the more commonly available oyster mushroom Pleurotus .
Kits containing viable Pleurotus spawn are sold as ‘home mushroom farms’ at big box stores and offer an easy alternative to the Ganoderma, which generally needs to be ordered from a specialty supplier. I chose a product called the ‘Back to the Roots’ organic oyster mushroom kit, which I purchased at a Home Depot. The kit is basically a bag of spawn-infused sawdust partially dehydrated and packed in a cardboard box that can serve as a growth container. The spawn from this kit worked well enough with the Parsons woodshop waste, though the Pleurotus was a bit slower to colonize the material than the Ganoderma tsugae and the myco-forms it created took somewhat longer to stiffen up. Oyster mushroom is well worth experimenting with further. The artist Marina Zurkow at ITP has had good success using oyster mushroom to create myco-forms on substrates of coffee chaff, oat straw and rice husks. Tarah Rhoda at SVA uses a similar method, culturing Pleurotus forms on hamster bedding and shredded cardboard with the addition of a little wheat germ and horticultural gypsum. Though these commercially available substrates are more homogeneous and the results more predictable, part of the value in utilizing our woodshop waste is that it engages students directly in redirecting a part of the Parsons’ waste stream back into productive capacity as a useful, protean material. ‘Garbage is just an unused resource’ is a key principle in the teaching of sustainability.
In my initial trials, Ganoderma tsugae proved the fastest at converting the very heterogeneous contents of the woodshop vacuum cleaner into myco-forms. In nature G. tsugae feeds on a range of tree species, primarily conifers that contain natural pitches and resins superficially similar to the synthetic glues used to make plywood and composites. ( ‘Tsugae’ is Latin for hemlock - a conifer.) It makes sense that G. tsugae might have evolved the appropriate biochemistry with which to break down such resinous substances. The closely related Ganoderm lucidum is more of a hardwood specialist and didn’t colonize the waste I fed it as well as the G. tsugae. The only downside to G. tsugae is that it is harder to track down reliable suppliers of the spawn. At the time of writing, I found it available only at Mushroom Mountain, as it is not nearly as commonly cultivated as lucidum . The latter, also known as Reishi or Ling Zhi , is extensively used in traditional Chinese medicine and in various other alternative health regimes. Thus the spawn is readily available from numerous suppliers. Though I found lucidum less successful than either Ganoderma tsugae or the Pleurotus, it would definitely be worth using if predominantly hardwood sawdust becomes available.
Coffee Grounds:
The oyster mushroom Pleurotus, has the ability to convert a wide variety of other carbon-based wastes into myco-forms, including spent coffee grounds, shredded cardboard etc. I ran a test using some ‘Back to the Roots’ spawn mixed with used coffee grounds and the spent paper filters left over from the coffee brewing. Good mycelial growth happened within a couple of weeks. Students might want to experiment further with this protocol, using grounds recycled from local coffee shops, which would seem to be in unlimited supply. The added bonus is that the oyster mushrooms thus produced are an esteemed edible. Cardboard is also ubiquitous and worth experimenting with.
THE PROTOCOL:
Materials needed:
Substrate (I used the contents of the Maker Space wood shop vacuum cleaner bag) or any other kind of sawdust. Used coffee grounds work well with the Pleurotus (oyster mushroom)
Plastic bucket or tub for mixing substrate and spawn
Spawn bags with filter patch
Pressure cooker and hot plate or 100 cup coffee maker or large canning pot
Thermometer
Disposable gloves
Face masks (the dust can be allergenic to some people and the masks also prevent contamination of the fungal cultures)
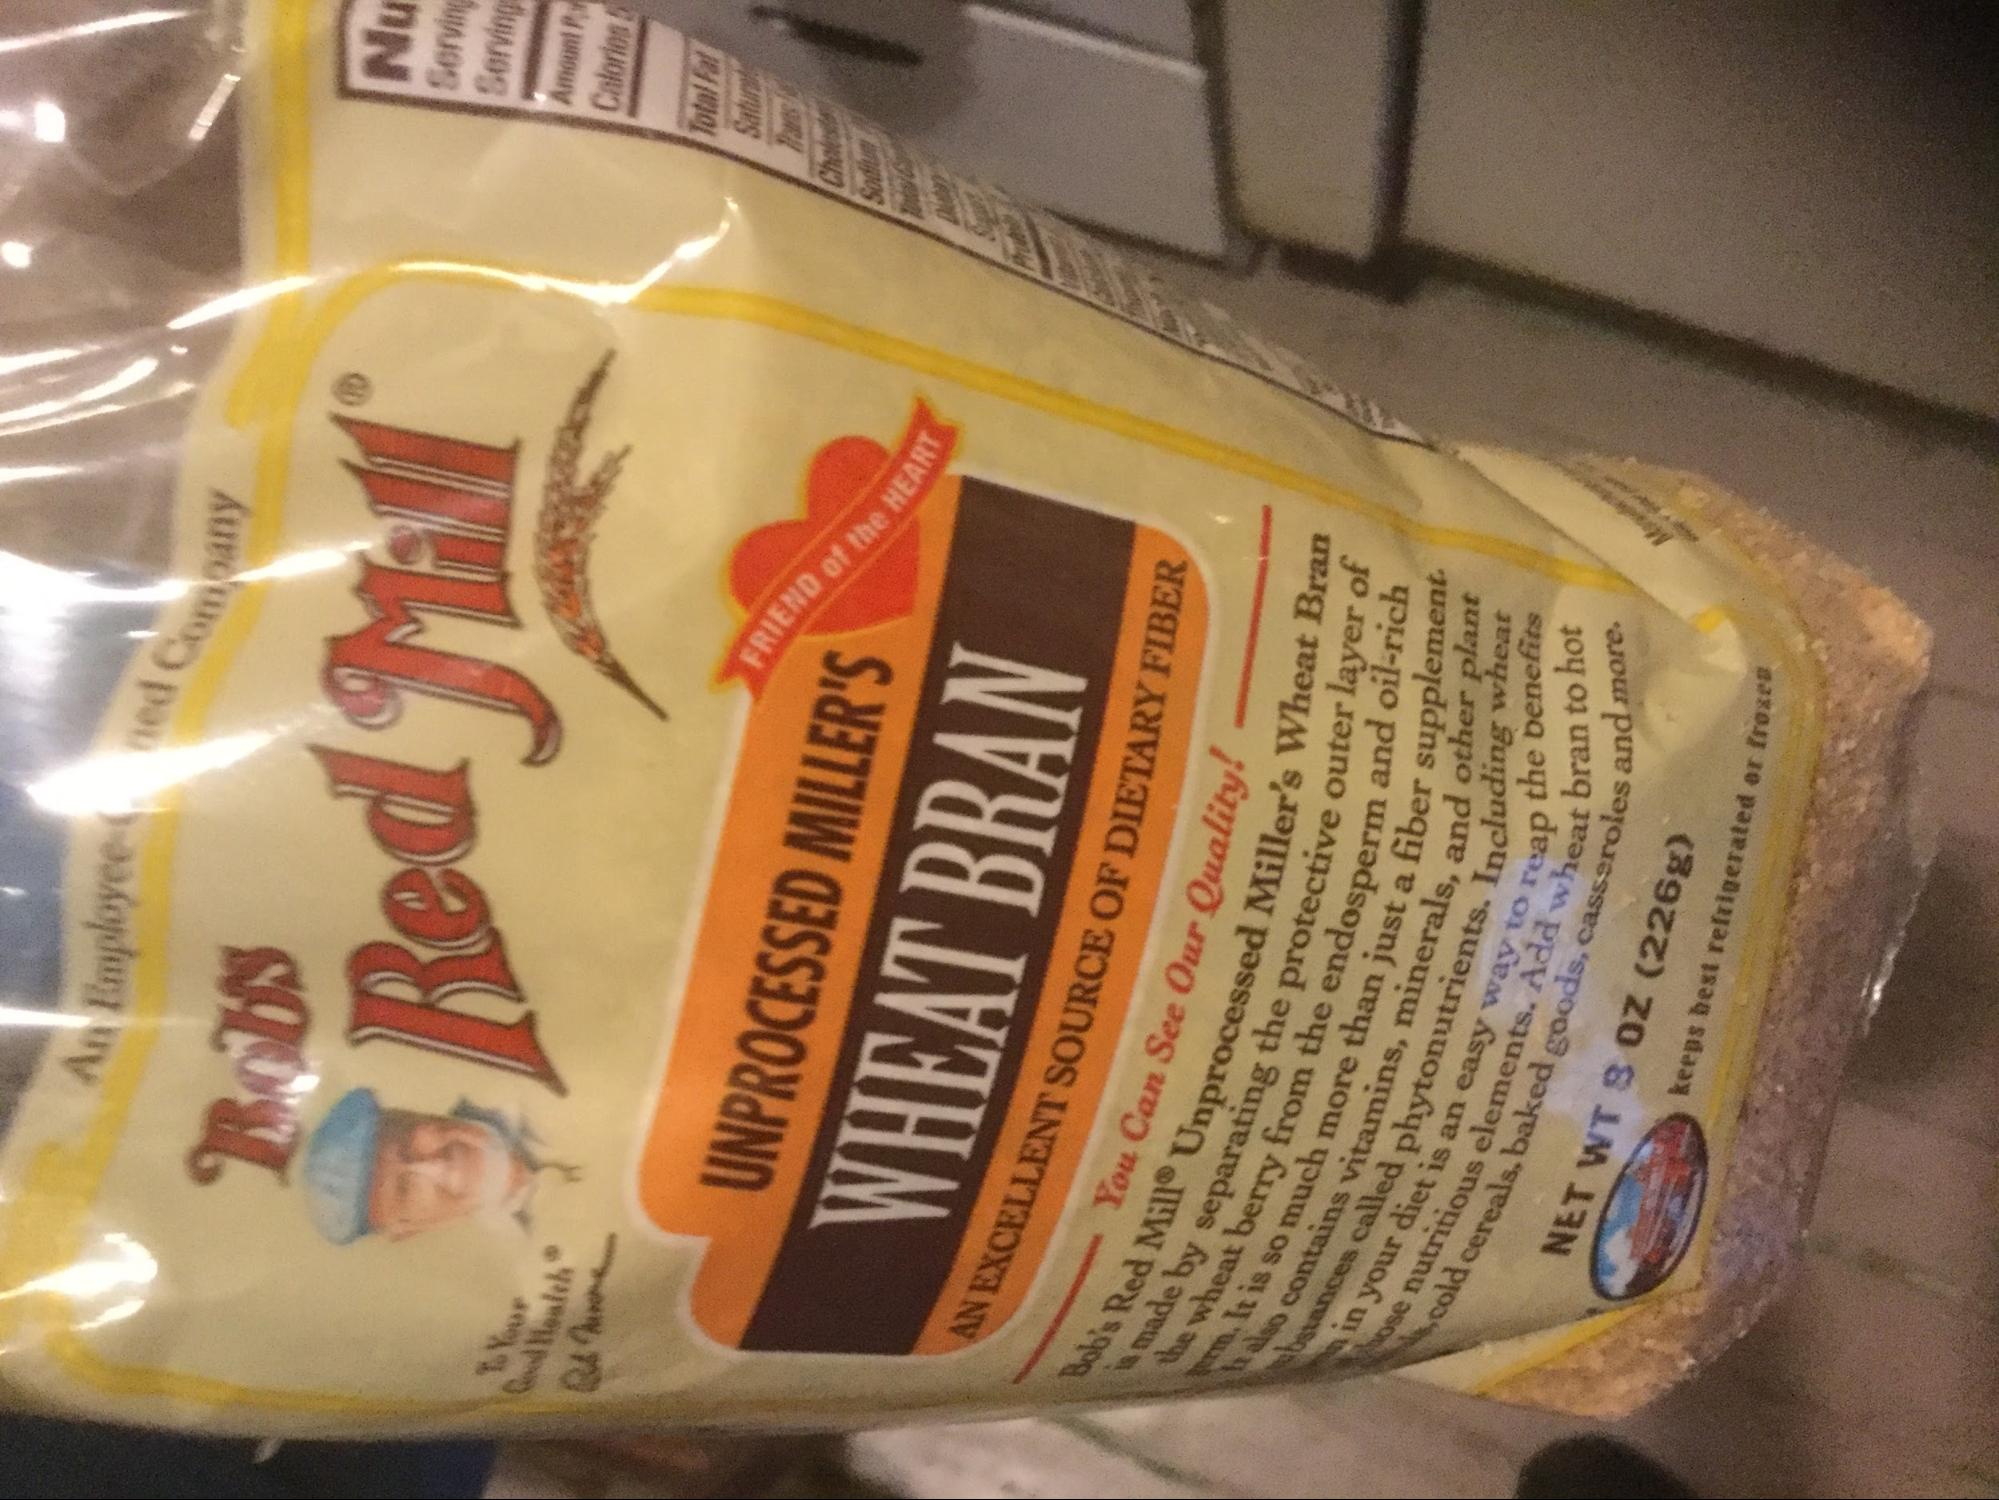
Wheat bran
Ganoderma tsugae or Pleurotus (oyster mushroom) spawn (Mushroom Mountain, Back to the Roots or other suppliers)
70% isopropyl alcohol in a spray bottle for cleaning surfaces
Paper towels or clean cloth
Molds: (I used kids plastic sandbox molds or cookie moulds but you can use anything that fits into the spawn bag. Silicone cake molds or novelty ice cream molds are all great. Custom made molds of porous material like wood or styrofoam will need to be lined with plastic wrap to allow release)
i) Collect Substrate:
Gather and collect the substrate. The shop vacuum cleaners have dust bags in them and it is tidier to remove the whole bag and take it to a suitable preparation area. Use disposable gloves for sanitary reasons and wear a dust mask as the fine dust might be harmful or irritating until the dust is dampened and pasteurized.
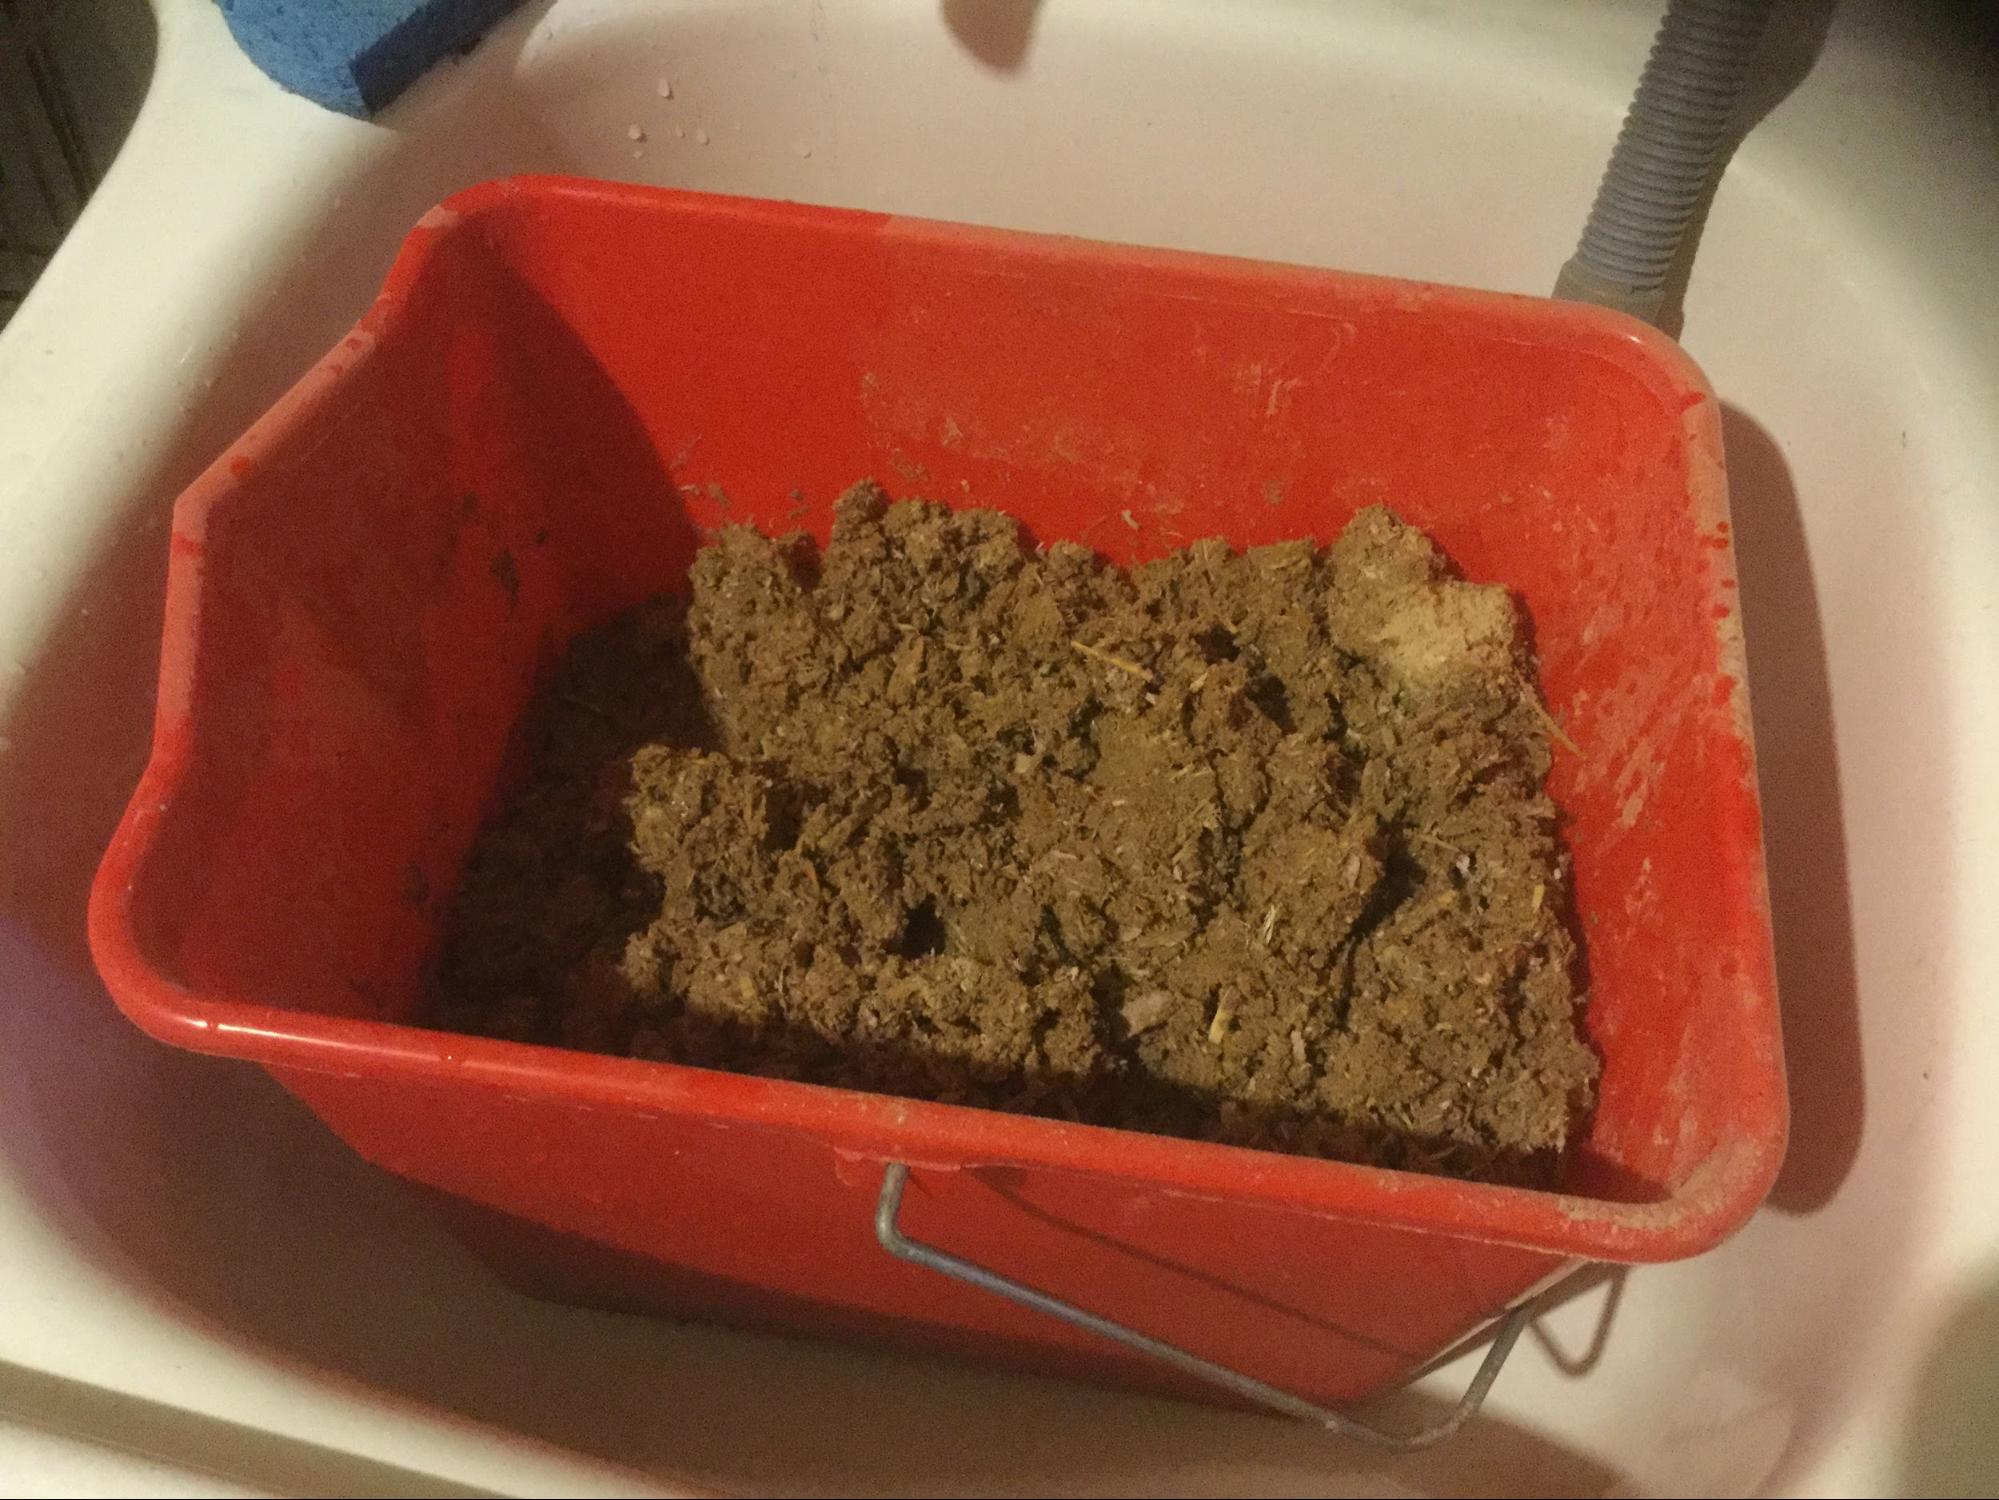
ii) Mix substrate with water and wheat bran:
In a large bucket or plastic tub, mix the sawdust with water until evenly moist but not wet. To encourage mycelial growth, I also tossed in a generous handful of wheat bran as a starter food for the mycelia. I didn’t use an exact quantity but it is attractive to the mycelia and they will penetrate the sawdust quicker if it is available. Mix the wheat bran in thoroughly with gloved hands. Be careful of nails and other sharps that might have been sucked up in the vacuum (this is garbage that has been sucked up off the floor after all ) and remove these when you find them to avoid injury and puncturing the spawn bags.
iii) Put substrate mixture in spawn bags for sterilizing:
Set aside enough polyethylene spawn bags (they have little filter patches so the growing fungus can breath) to accommodate the amount of substrate you have mixed up. You will be sterilizing the substrate in these bags in small batches, to kill off any organisms that might compete with the mycelia. How much substrate you put into each bag depends on the size of your sterilizing equipment. I use a small home pressure cooker, which can only accommodate only a single ¼ filled spawn bag, but a larger pot or a 100 cup coffee can deal with considerably more material.
iv) Pasteurize substrate and allow to cool:
Put the spawn bag with sufficient media in it into the pasteurizing vessel and make sure there is enough water to generate the required steam or completely cover the spawn bag if not a pressure cooker or autoclave. If using a home pressure cooker, make sure the water line is around half full or so. Close the unit and bring up to 15 psi for at least 20 minutes or so. When using the 100 cup coffee maker, bags can be submerged and the coffee maker brought up to 160 degrees F for adequate pasteurization. You’ll need to use the thermometer. Make sure the bags are sterilized for at least 30 minutes. Longer is better. Allow to cool to room temperature, which might take a few hours.
v) Clean all of your work surfaces and tools:
To avoid introducing competing organisms into the pasteurized substrate, disinfect the work surfaces, the molds you intend to use and your gloves with 70% isopropyl alcohol. A spray bottle and a clean paper towel are useful here.
vi) Inoculate pasteurized substrate with spawn:
Wearing clean (wiped with alcohol) disposable gloves, break off chunks of spawn (it appears as white growth in the sawdust or grain substrate in which it is shipped) and crumble into the bag of substrate you have prepared. Use a ratio of at least 1:5 spawn to substrate, i.e. about 20% spawn to ensure success. Mix this in as thoroughly as possible to ensure and even inoculation. The larger the proportion of spawn, the more likely it is to successfully take over the substrate ahead of competing organisms.
Go ahead and press some of the spawn/substrate mixture into the mold you will be using and start the casting process. The molds should be wiped down with 70% Isopropyl alcohol before using to prevent contamination.
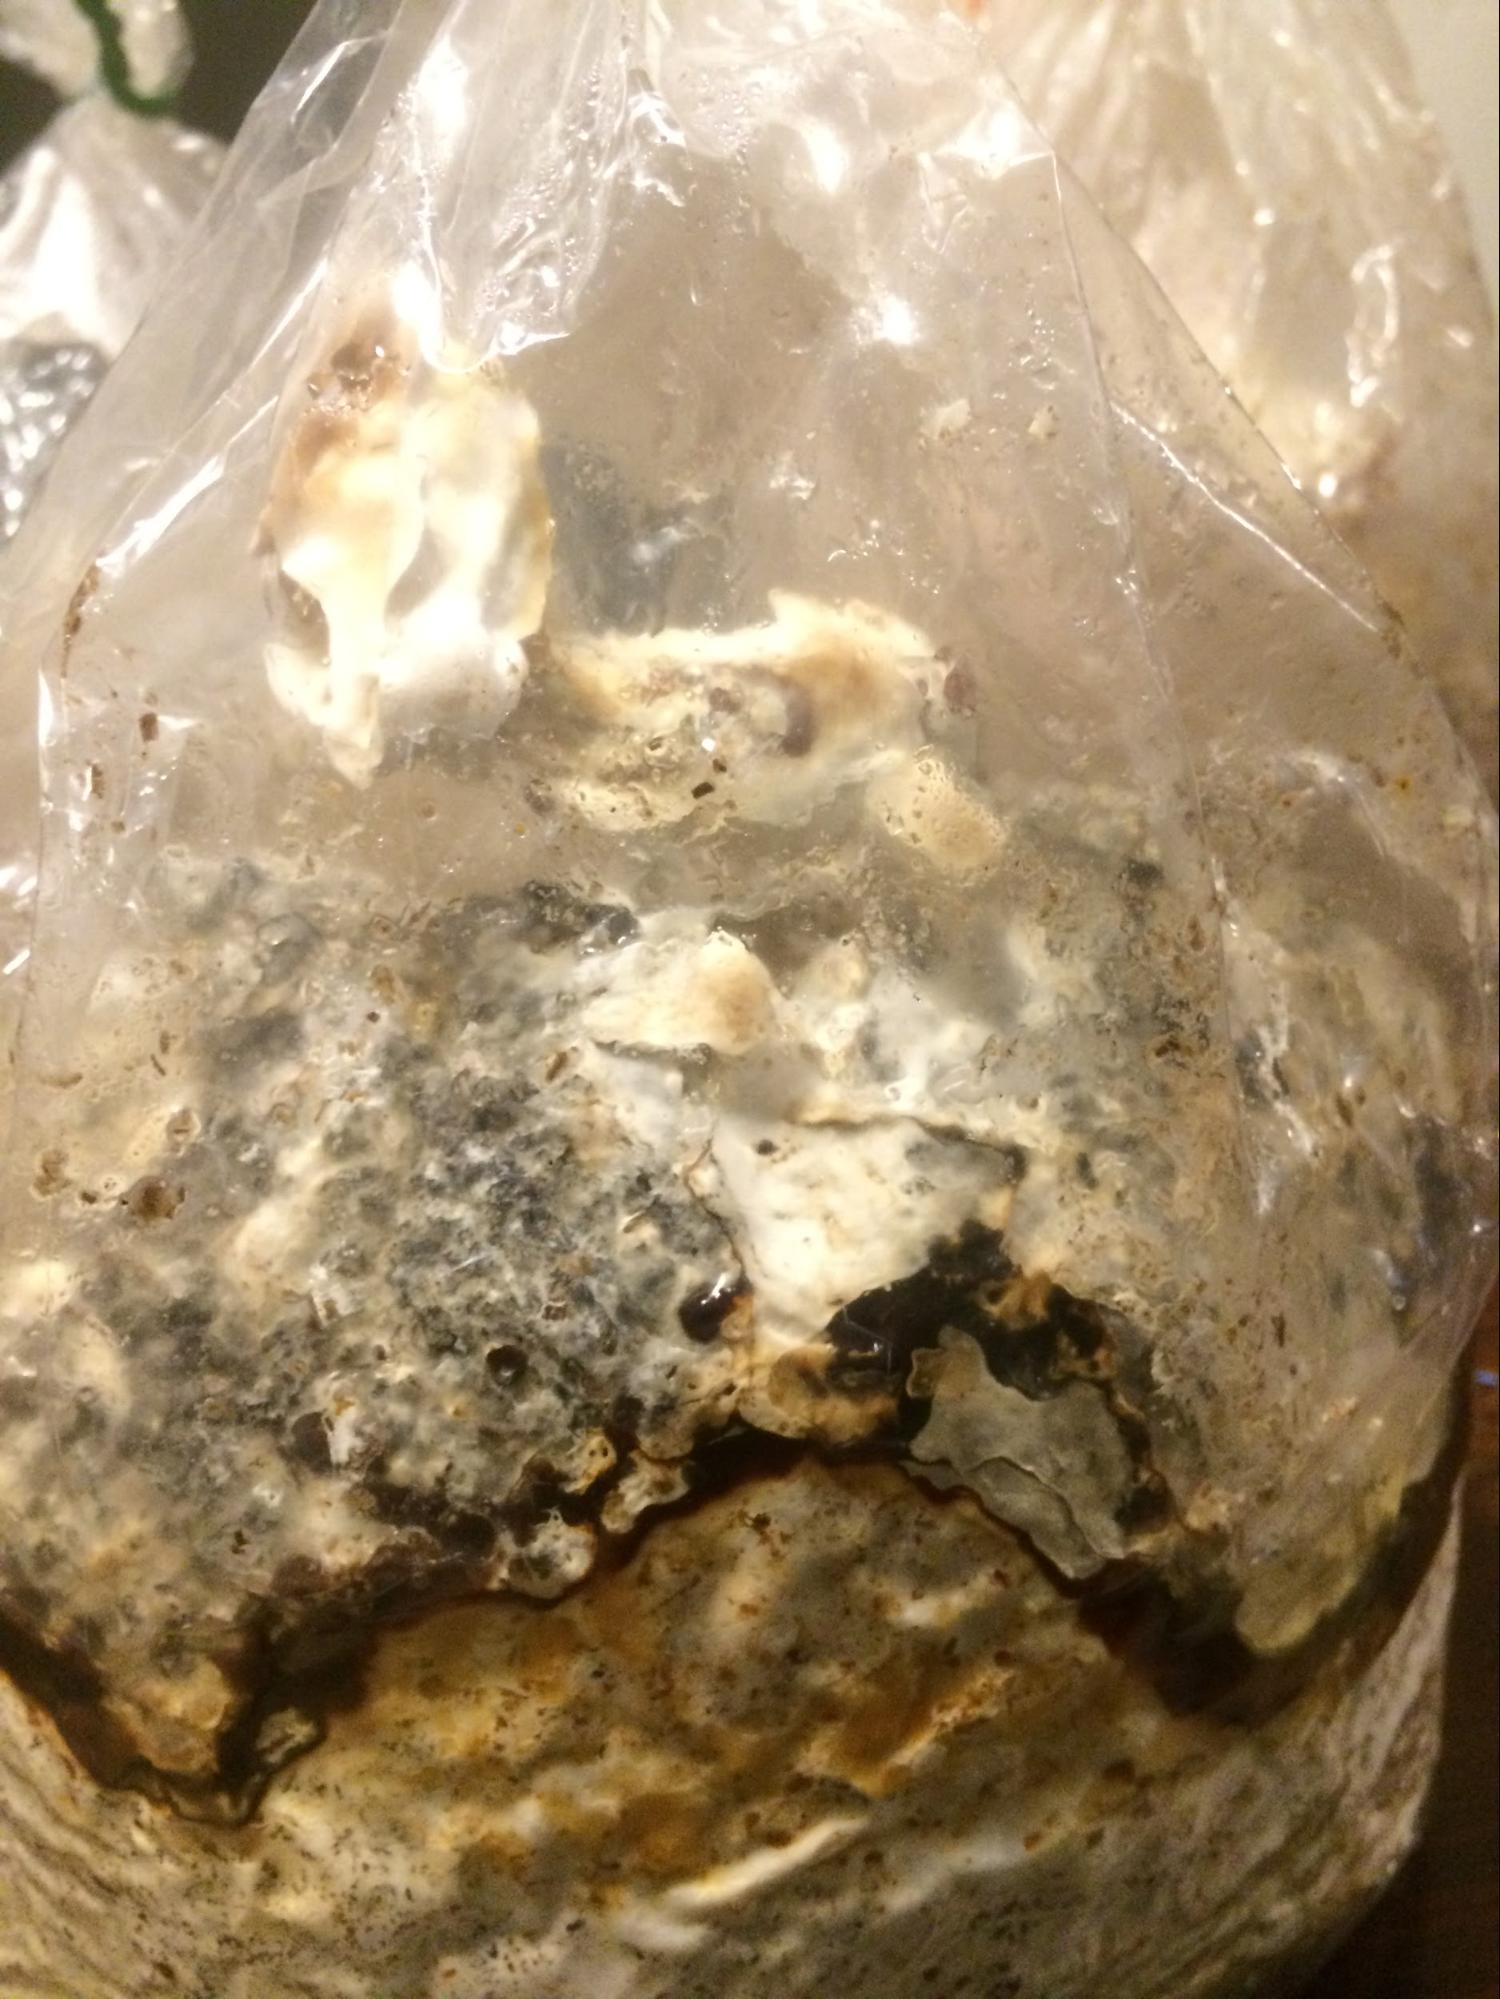
It is also possible to delay putting the spawn into the molds until the spawn has begun to colonize the substrate a bit, especially if there isn’t much spawn to begin with. Spawn growth should be visible within a week or so as a white mycelial mass spreading through contents of the bag, often with some visible exudate (which seems to be mostly made up of water, which can be poured off from time to time) Letting the spawn to grow for a while gives you more mycelia to work with to fill the molds, which is done by pressing the spawn-infused substrate into the mould and then sealing it back into the spawn bag along with whatever spawn-substrate mix is left over to keep its contents humid and to prevent contamination from outside organisms. Novelty cake molds made from silicone, ice cream molds, cookie and children’s sandbox molds all work. More porous molds need to be lined with plastic film to facilitate release. Found objects or bespoke 3D printed forms are all worth considering. Your creativity is the only limit!
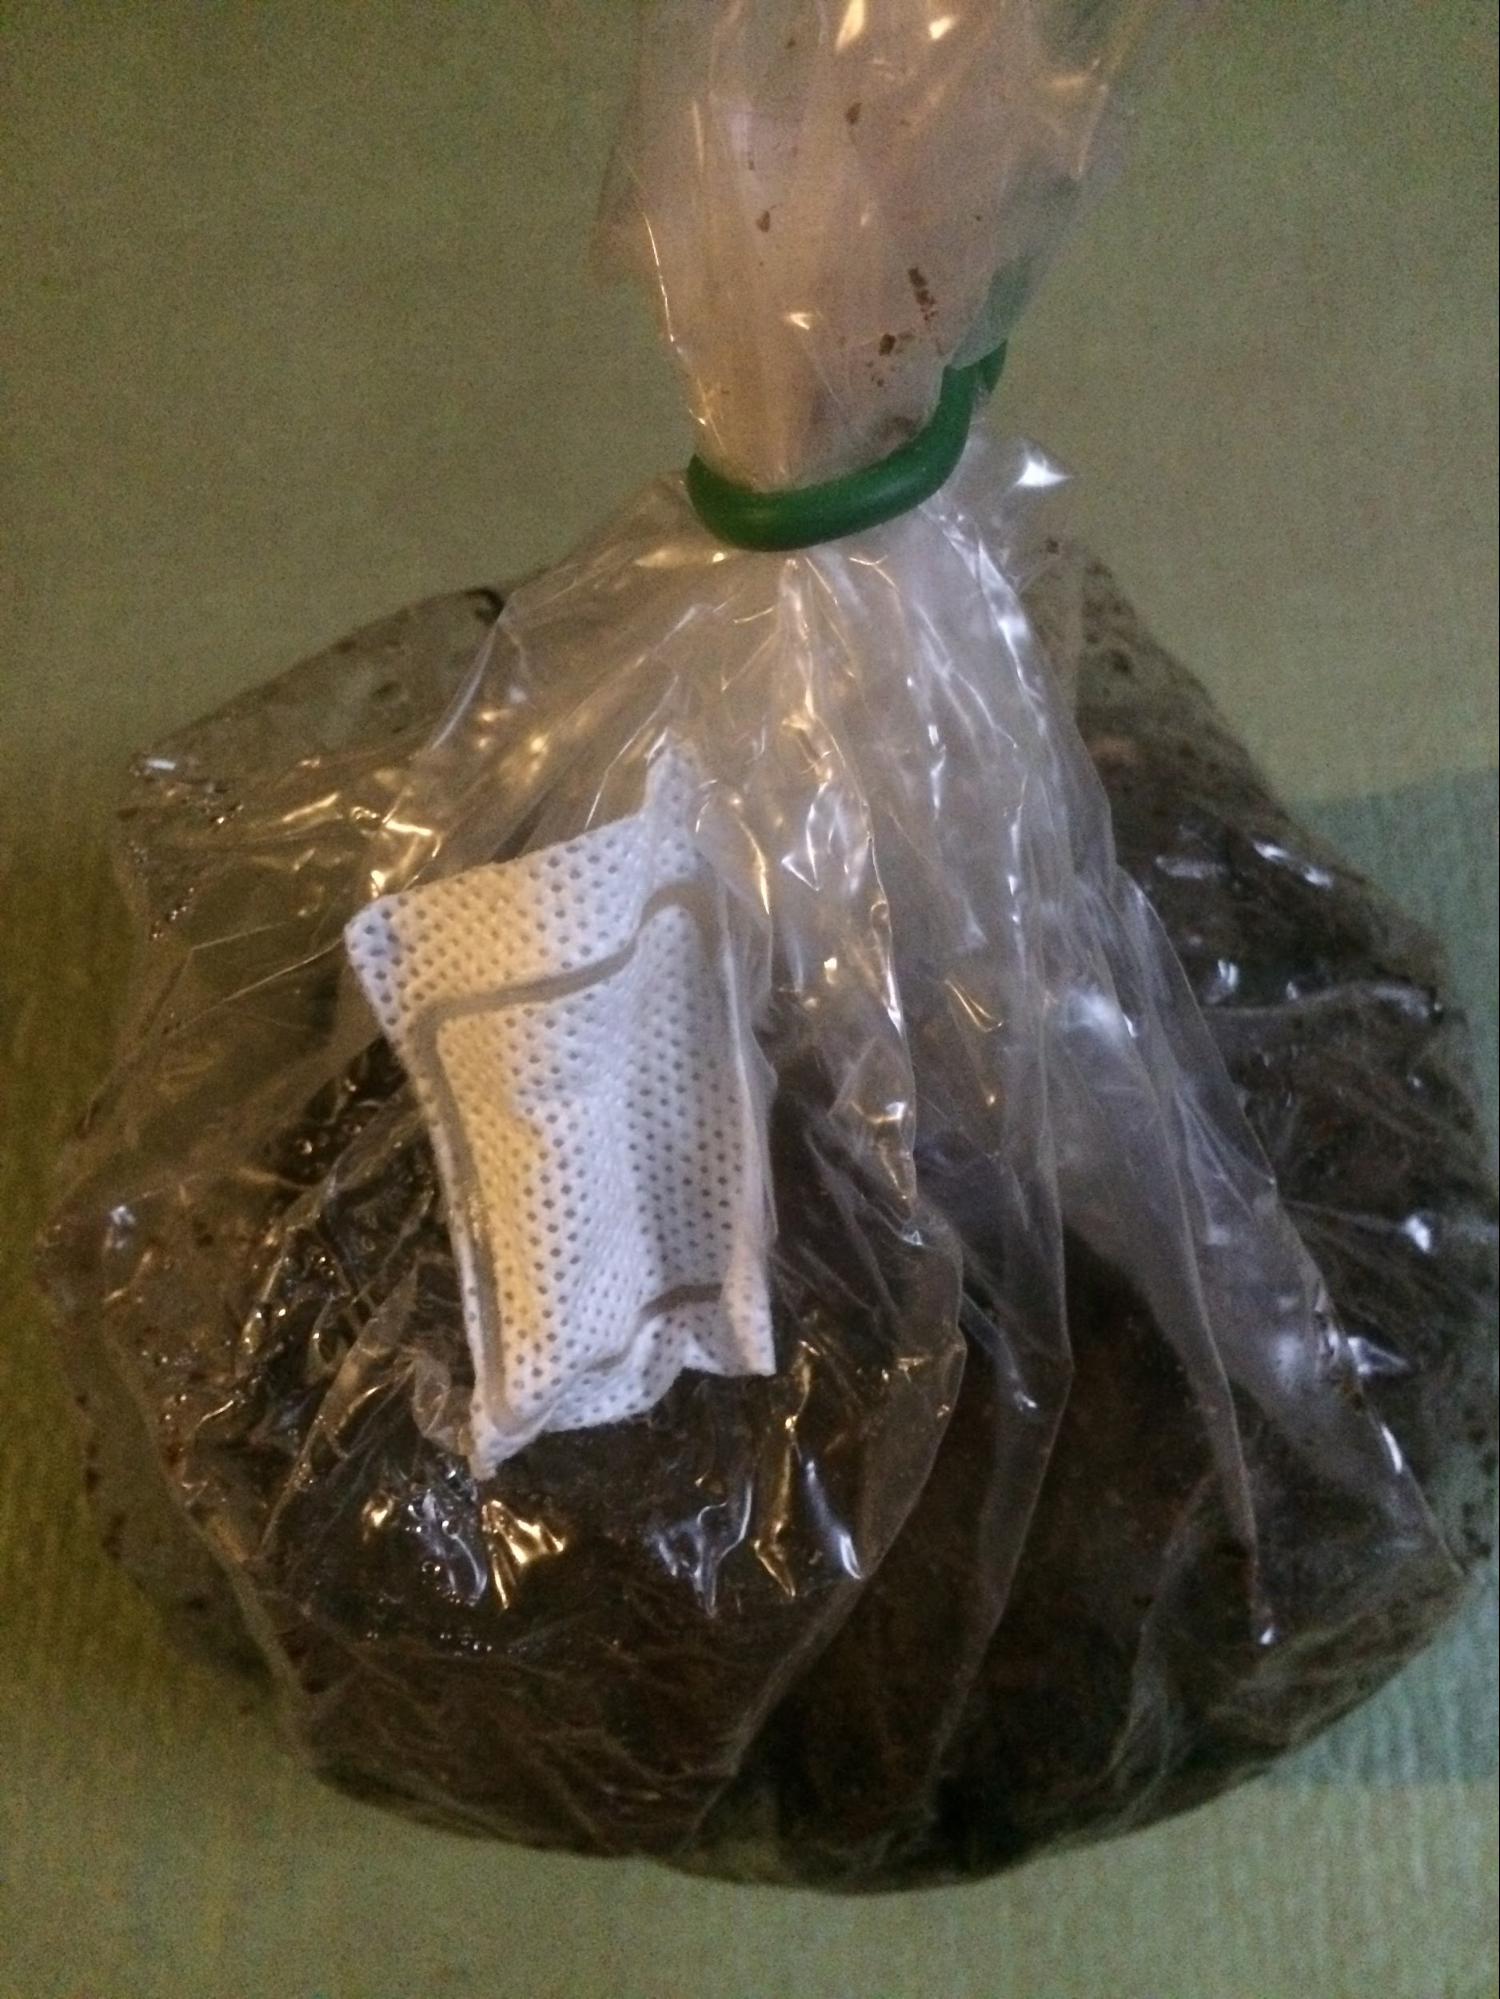
Spawn bag showing filter patch
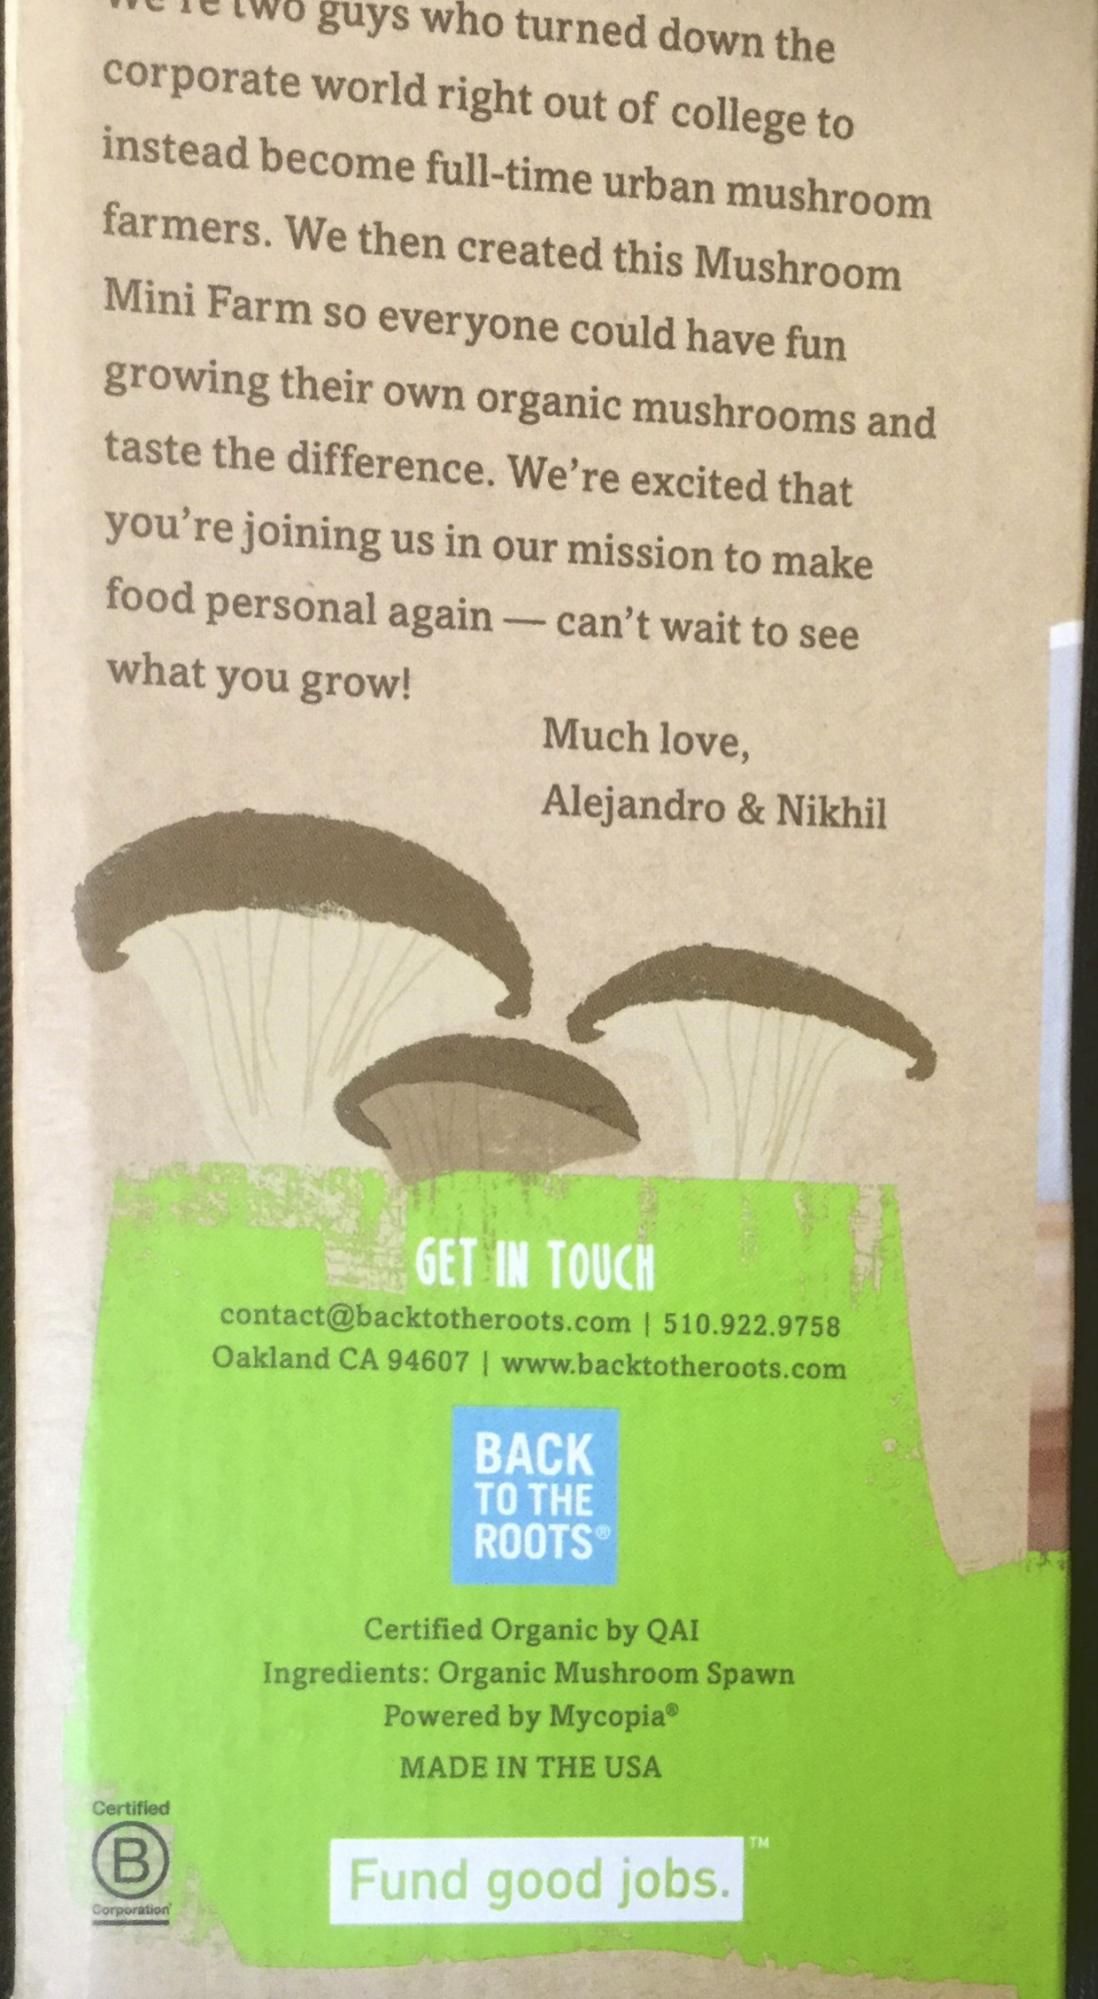
‘Back to the Roots’ home mushroom farm
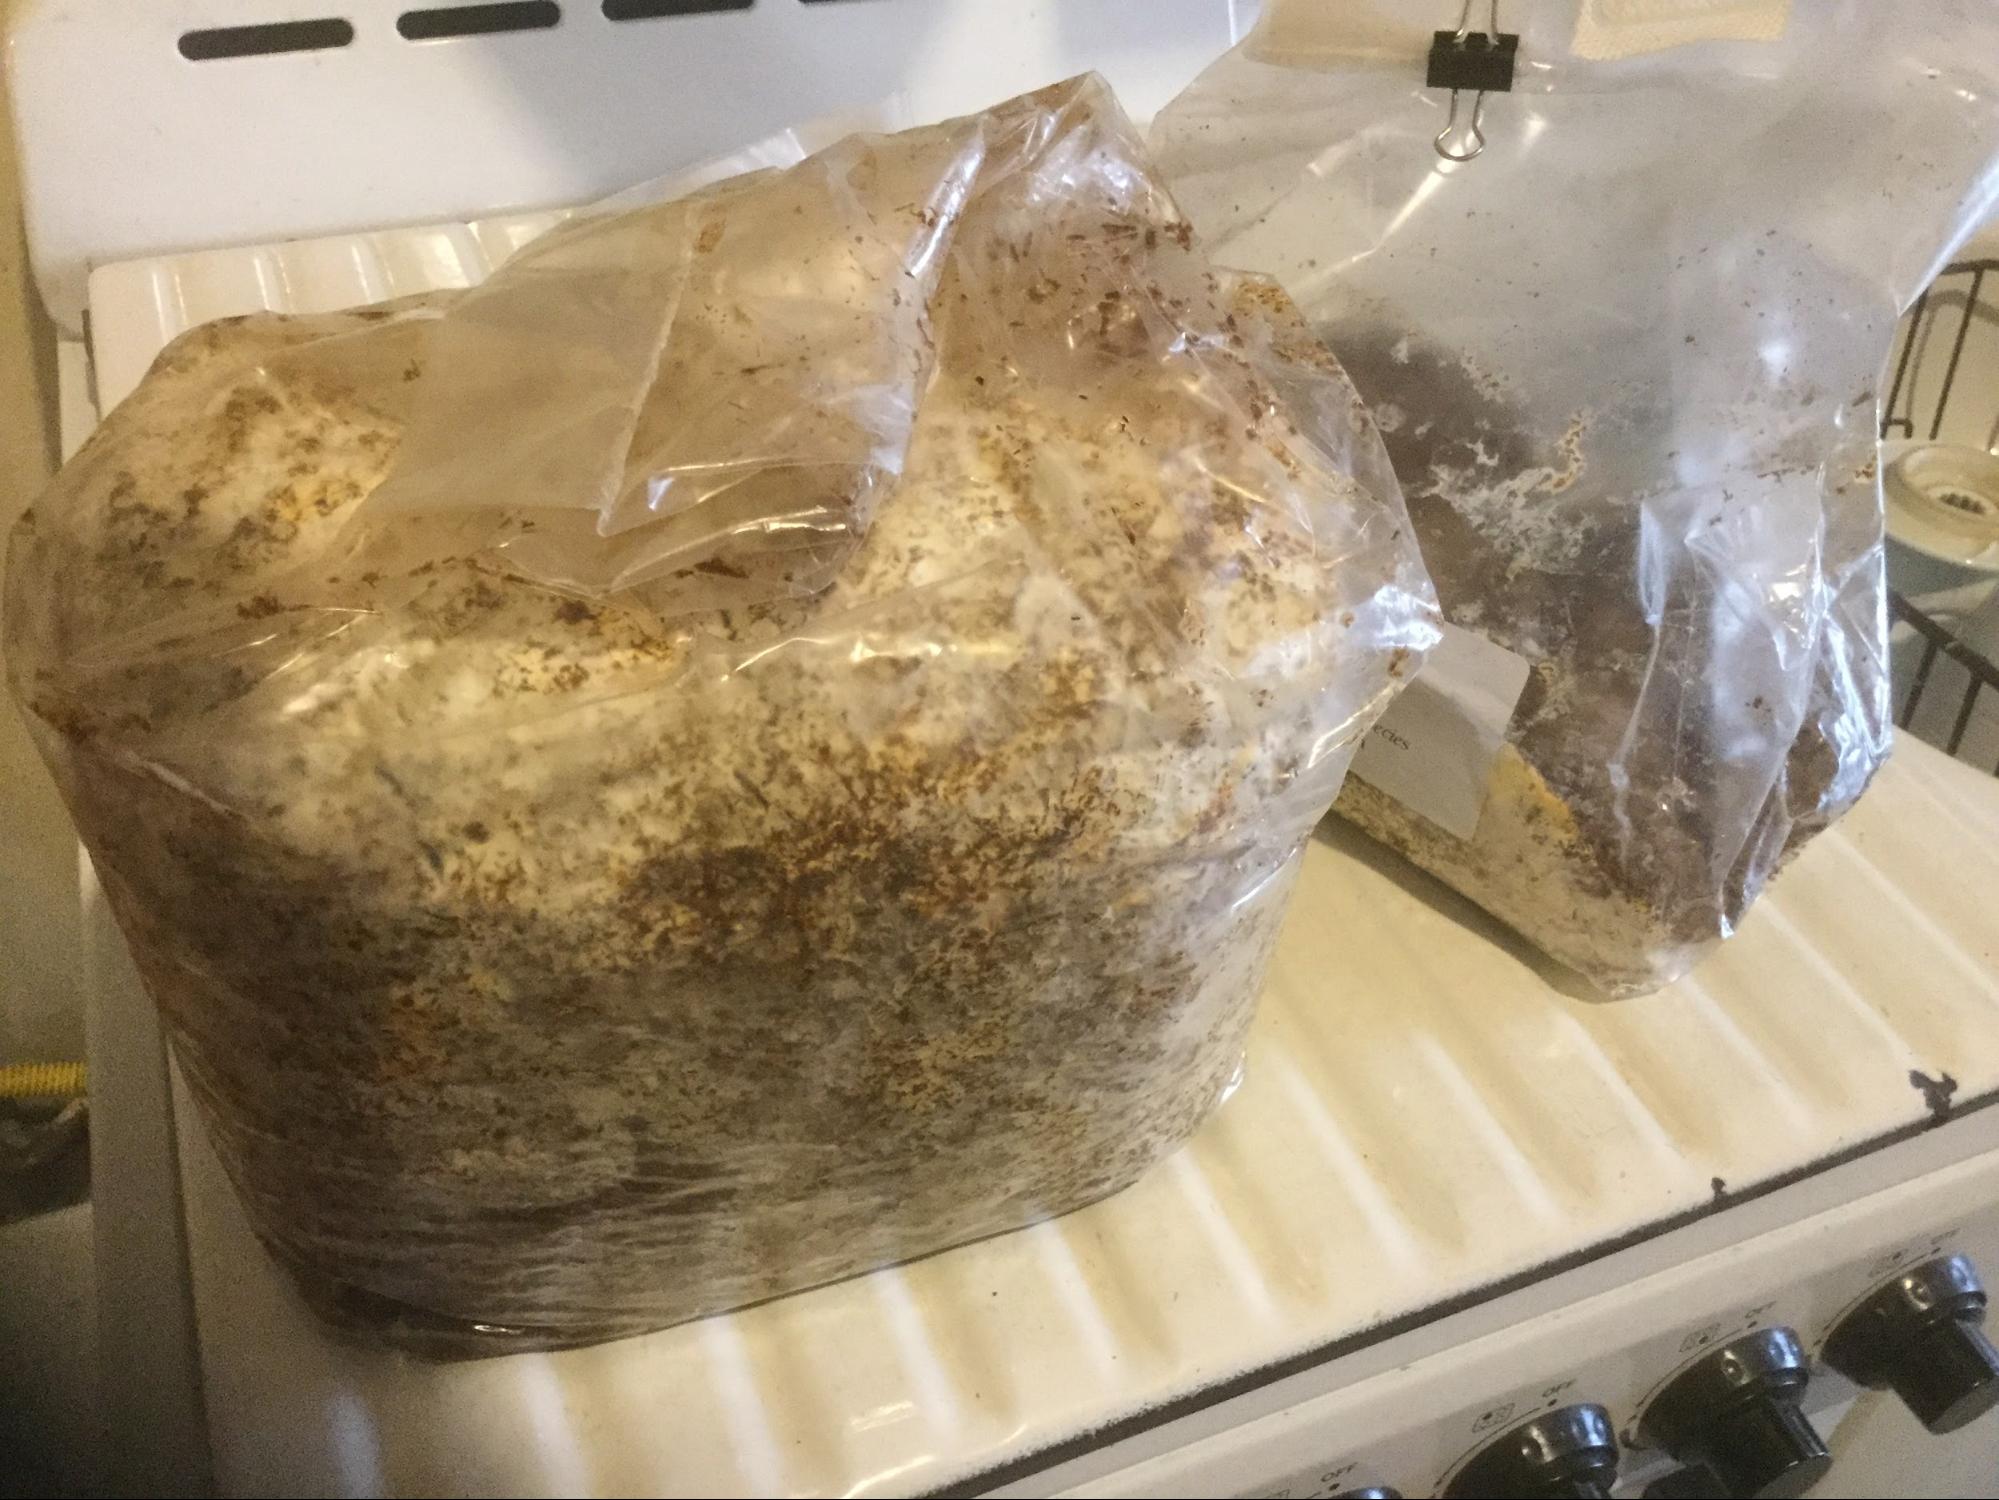
Mycelia actively growing in spawn bag with woodshop waste
vii) Wait for the spawn to grow in the molds.
Put the spawn bags into a darkish place and let the mycelia work their magic. Temperature, the mix of materials constituting the substrate as well as the ratio of spawn to substrate all affect the speed of growth, but you should be able to see a distinct whitening of the substrate within a week at average room temperature as the mycelial mass spreads and starts to digest the bran, sawdust and miscellaneous floor sweepings it is growing in. It is okay to inspect the bags frequently and the moulds to see if their contents are beginning to solidify but use clean disposable gloves (spray with 70% isopropyl if there is any doubt as to their sterility) particularly at the early stages to avoid contaminating the culture with other organisms. Once the substrate is well colonized, you can be a little less careful about this as the fungus will ward off invaders when it has critical mass.
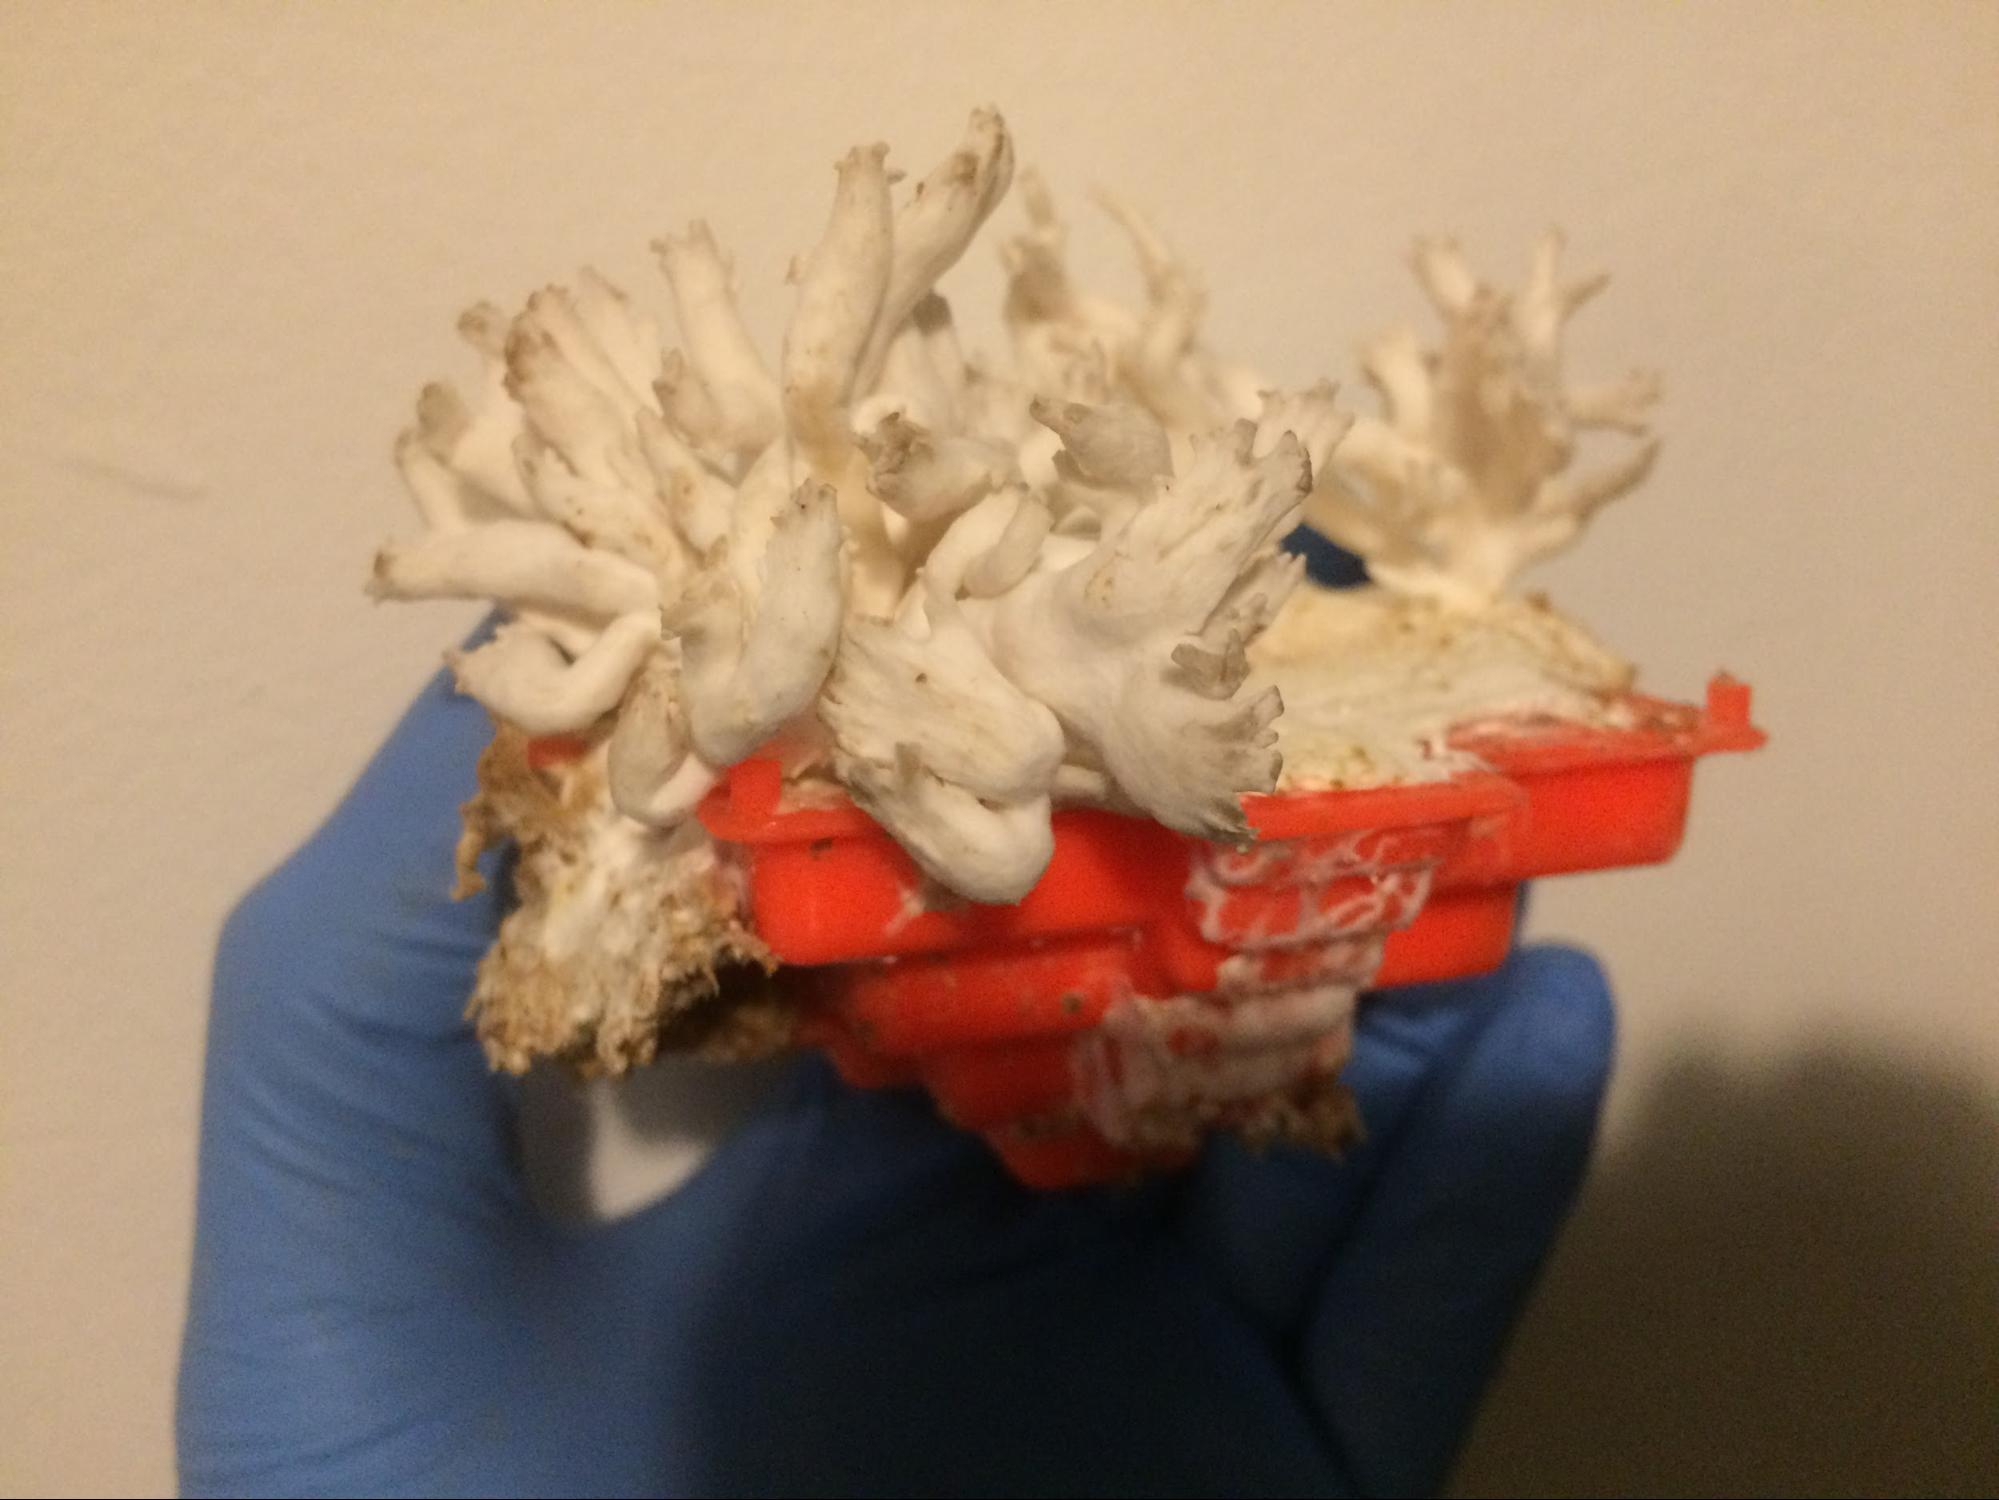
Oyster mushroom fruiting after mycelia have filled the mold
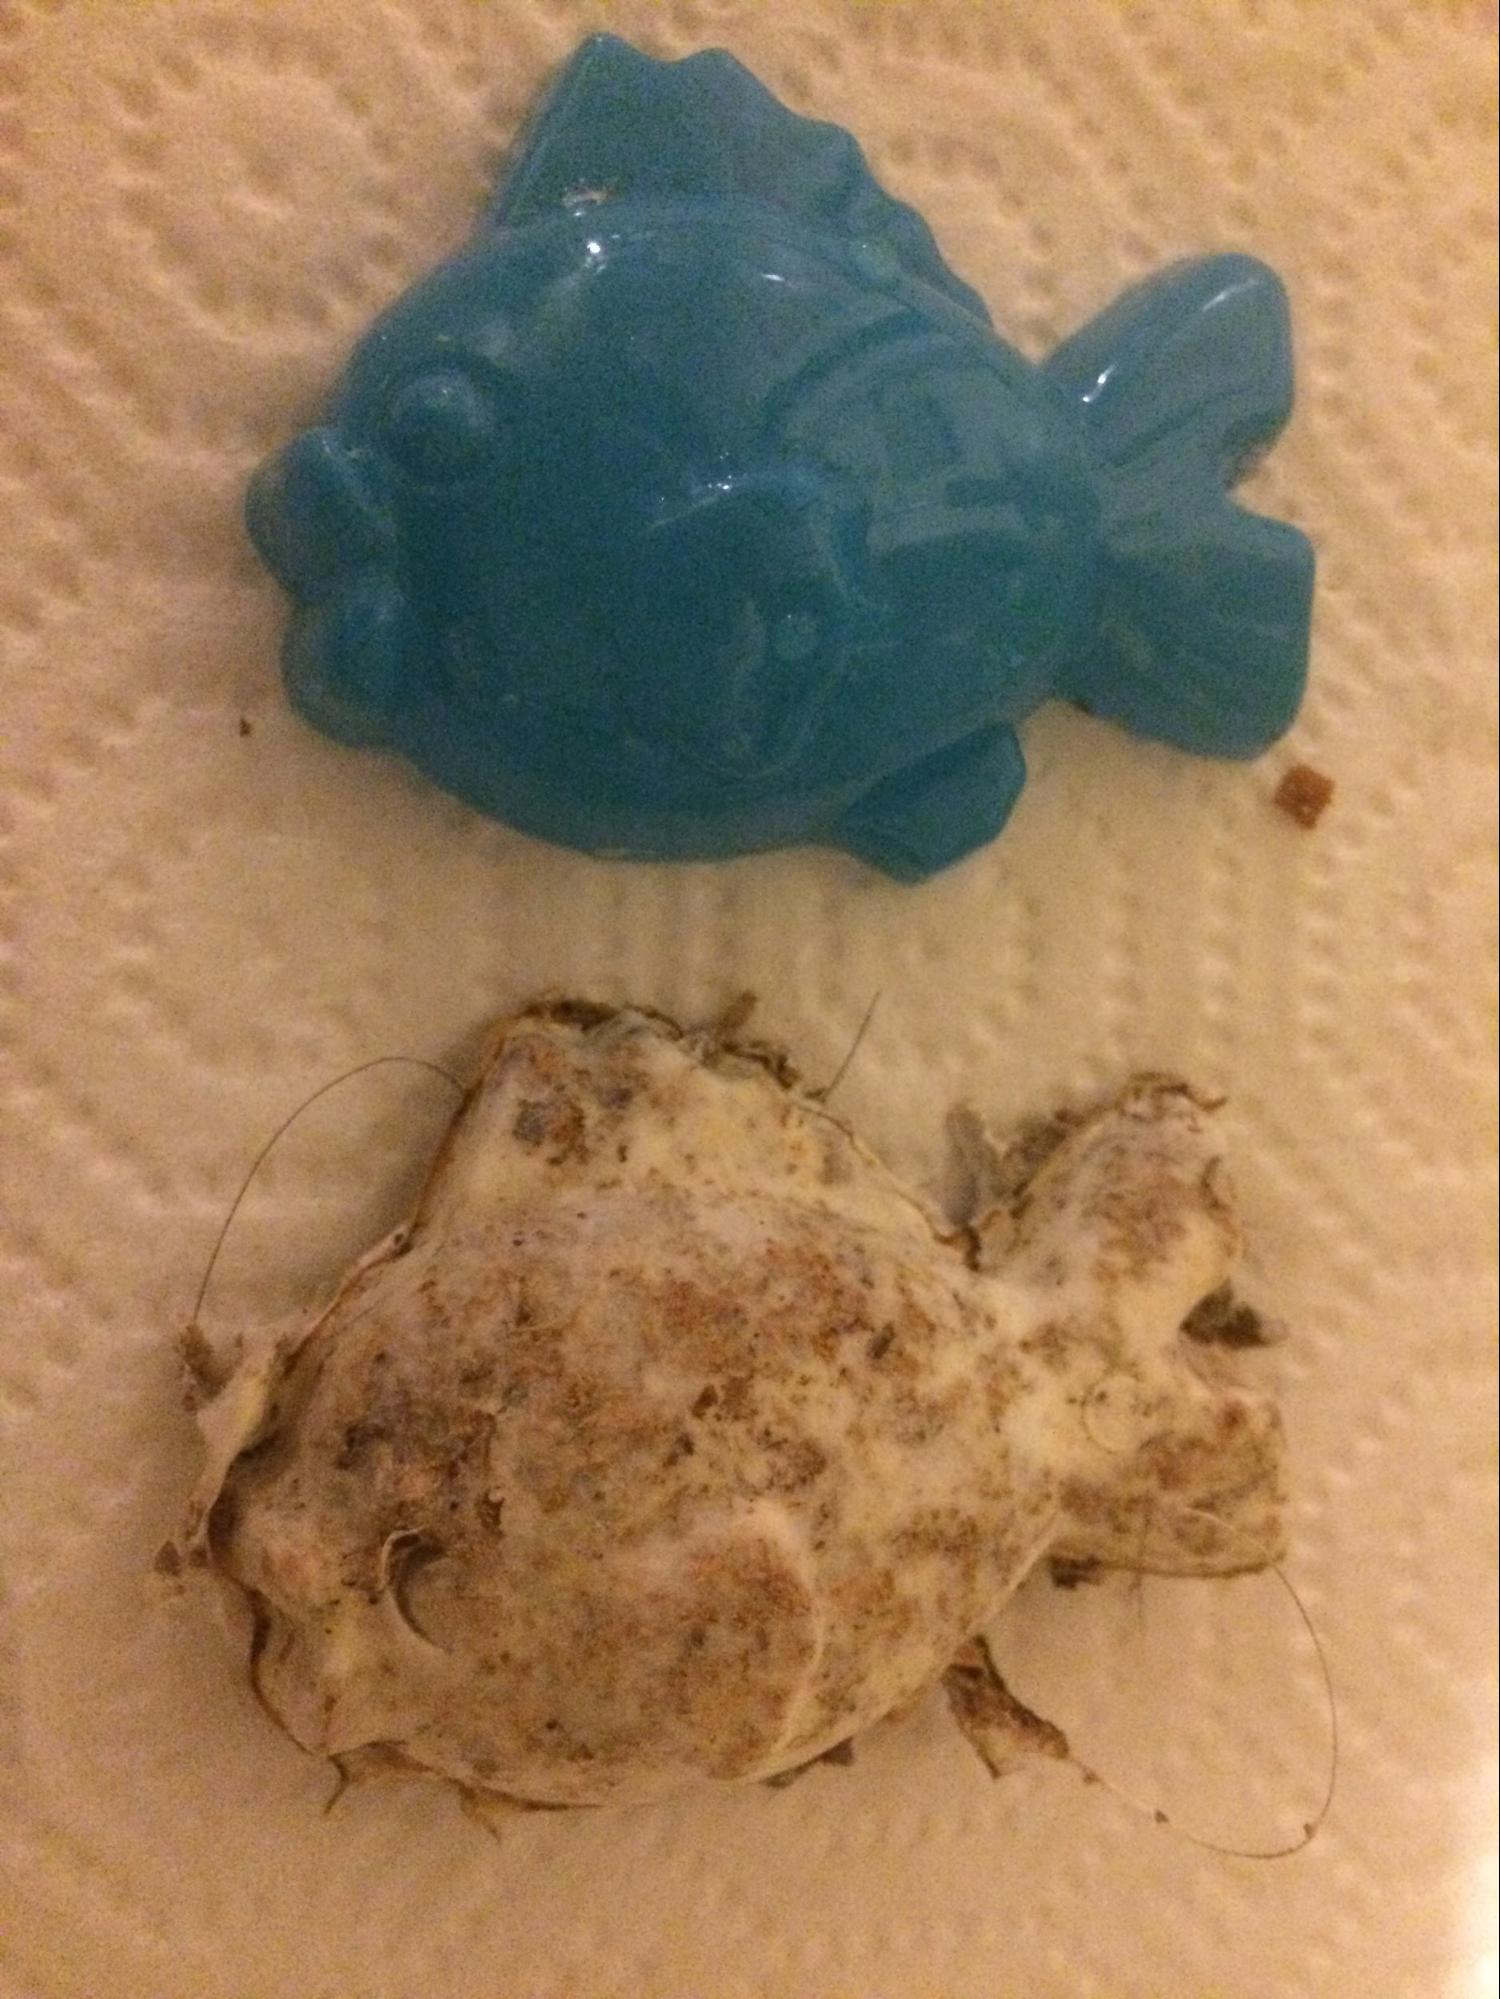
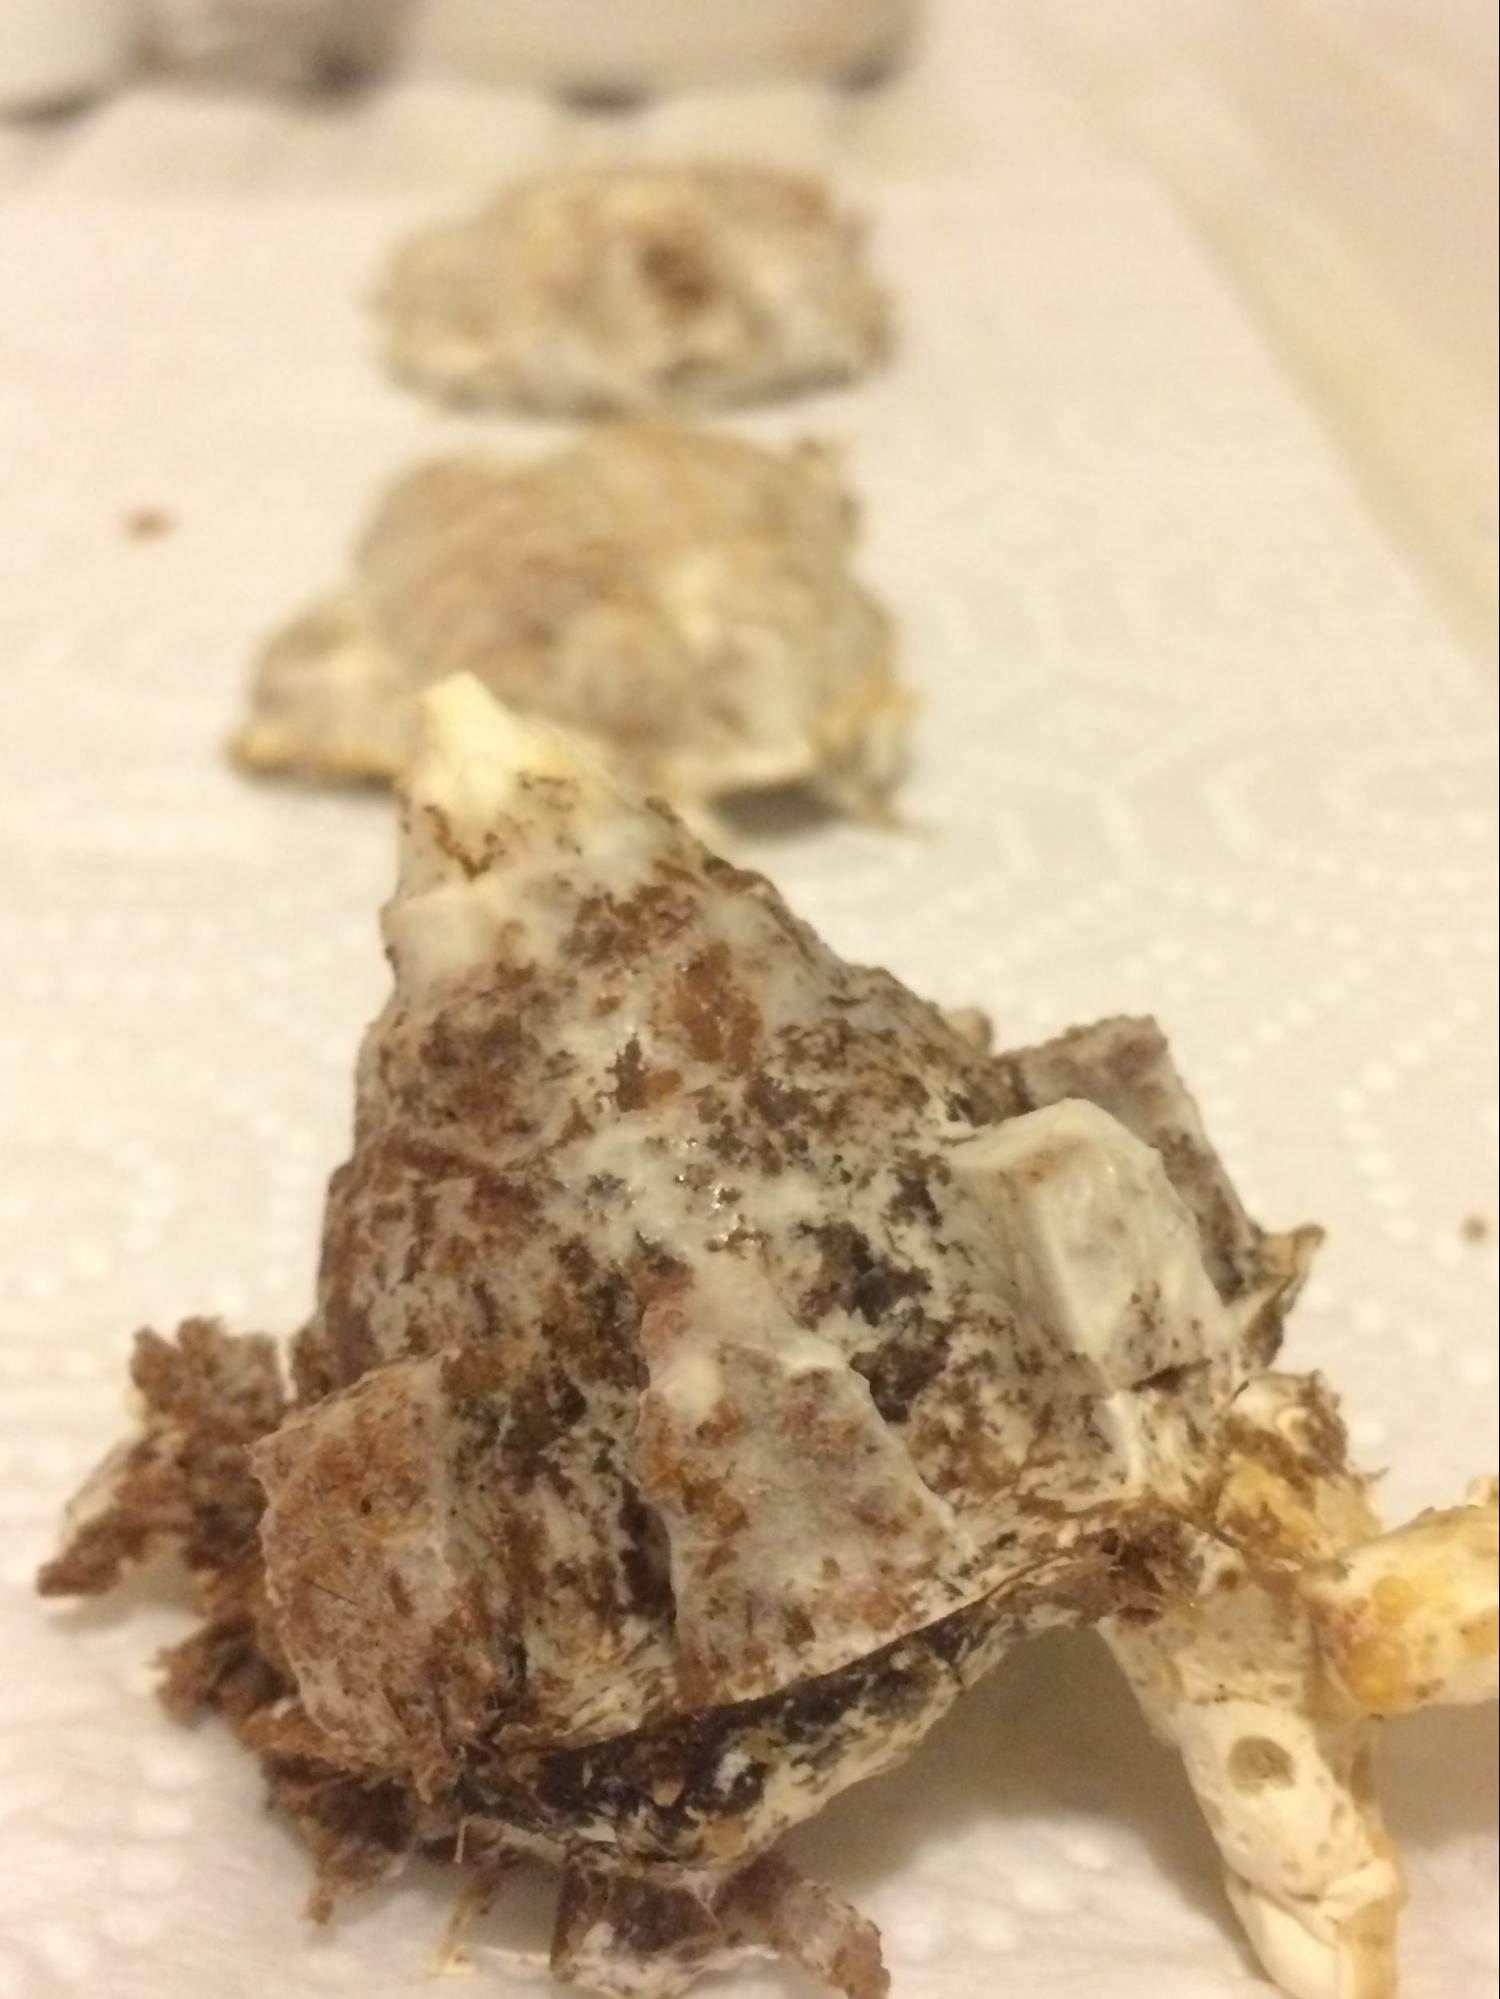
Ganoderma tsugae on woodshop waste myco-forms with molds
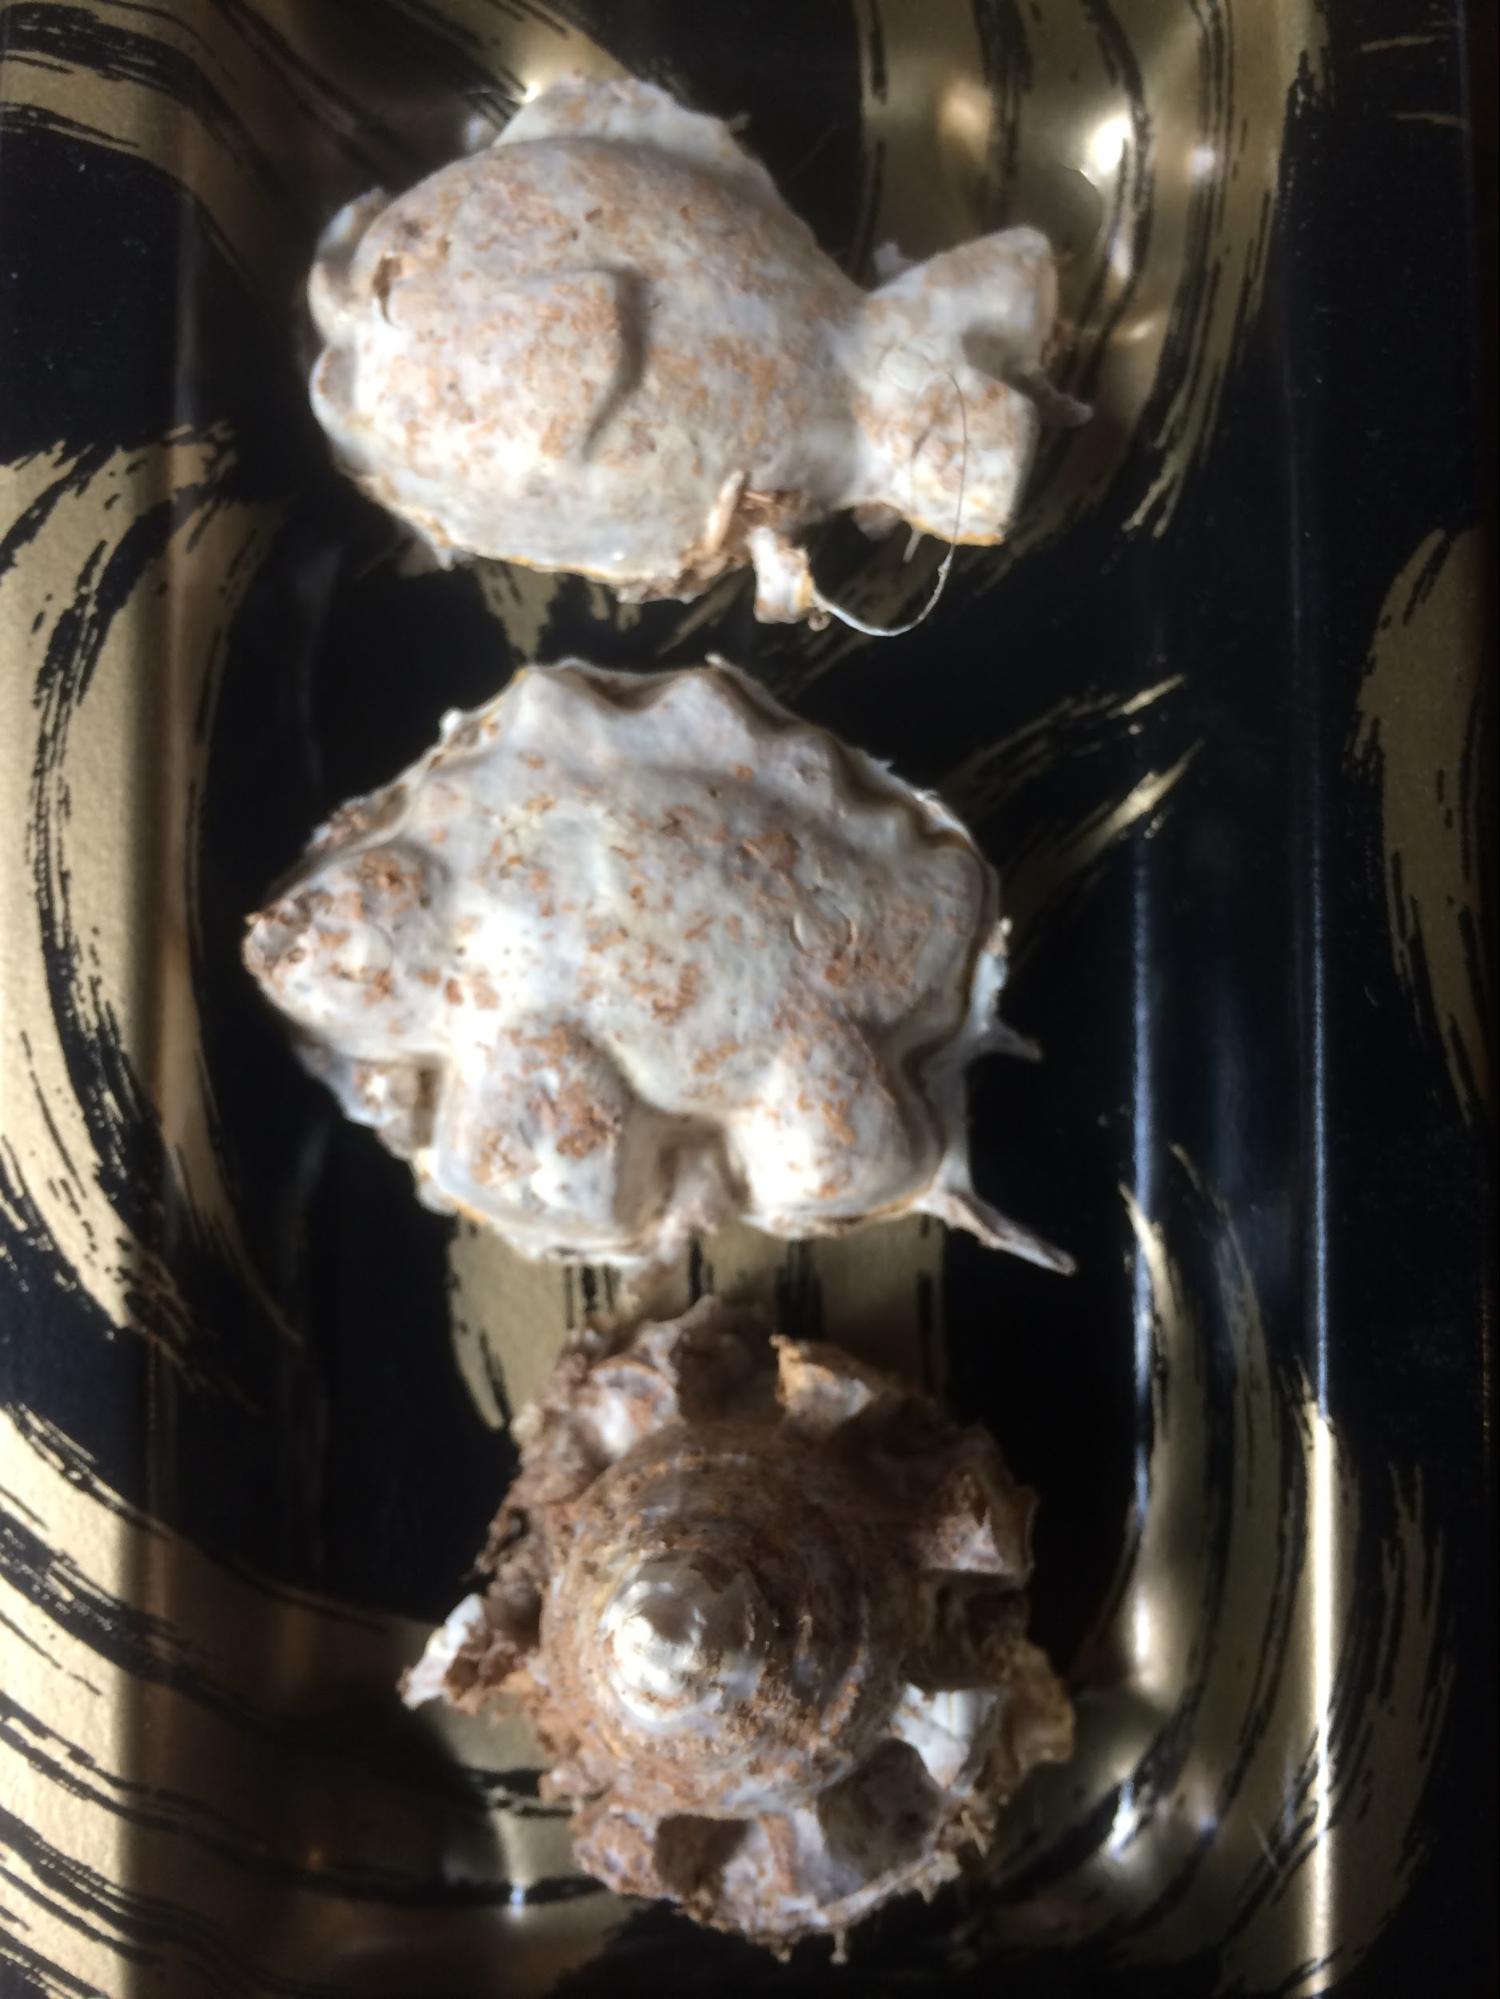
Ganoderma tsugae myco-forms on woodshop waste
As the mycelia spreads through the substrate in the mold, the contents will gradually stiffen up. This may take a couple of weeks or more and is dependent on temperature, spawn density and the composition of the substrate. Once the material seems stiff enough to hold together, knock it out of the mold and examine. Myco-forms can be dried on a radiator but to ensure the mycelia will stop growing, the myco-forms can be baked in an oven at 150 to 200 degrees F.
Students can be challenged to experiment with different kinds of molds and substrates. There is huge scope for innovation in this field.
Bibliography:
Marina Zurkow’s protocol: http://www.o-matic.com/blog/blog/2014/08/04/making-mycelium-material-som...
Ecovative Website:
http://www.ecovativedesign.com/
Radical Mycology:
Phil Ross’s talk at Parsons:
https://www.youtube.com/watch?v=7q5i9poYc3w
Fungus Plastic of the Future:
https://www.youtube.com/watch?v=jnMXH5TqqG8
